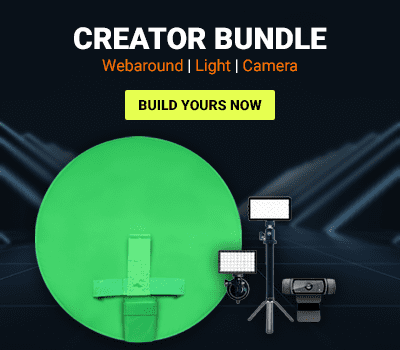
Streaming is a huge job. It isn’t easy to just pick up streaming with quality and uniqueness in mind. You want to make sure that your streaming room is ready and that you look your best anytime you click on the Start Streaming button. Over the past couple weeks, we have explored all of the major pieces of equipment and settings you need, from the best audio and lighting kits to how to make your own stream overlays in Photoshop. While each article goes over the main points in detail, we put together the ultimate stream setup guide that puts all of the pieces together into one coherent and quick checklist. Let’s get right into it!
Stream Assets
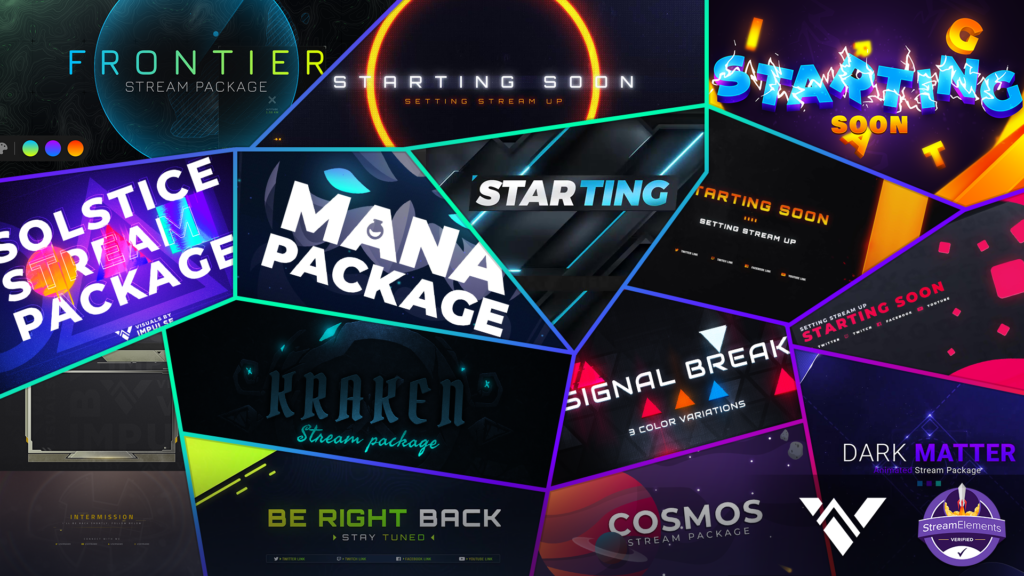
The first step into any stream is to get your stream assets together. Stream assets are any of the visual or audio pieces that will be present in your stream. This includes: webcam overlays, graphic and video overlays, music, stream labels, gameplay, transitions, and advertisements. You want to think about how your brand is going to be represented, the colors you’ll use, where your logo will be present.
There are a couple ways you can go about getting stream assets. You can create your own in Photoshop and your favorite video editor. You can also have them made for you by a graphic designer or a company that does graphic design. Visuals by Impulse is a great starting point as they have created free and paid versions of full overlays. Check them out if you are looking for more advanced overlays!
Streaming Software
You got your overlays ready, now what? Well, we have to select the streaming software you are going to use! The streaming software you choose will house all of your stream assets. Do you want to use a green screen? How much customization do you need on the filters and video settings? In other words, there are a lot of questions you want to ask yourself when picking the right streaming software. At the end of the day, there are really only a couple great pieces of software the dominate the space. We took a look at four of them and listed a couple pros and cons to help you decide where you might fit! For a larger breakdown of each, check out our comprehensive post on streaming software choices!
Open Broadcast Software (OBS)
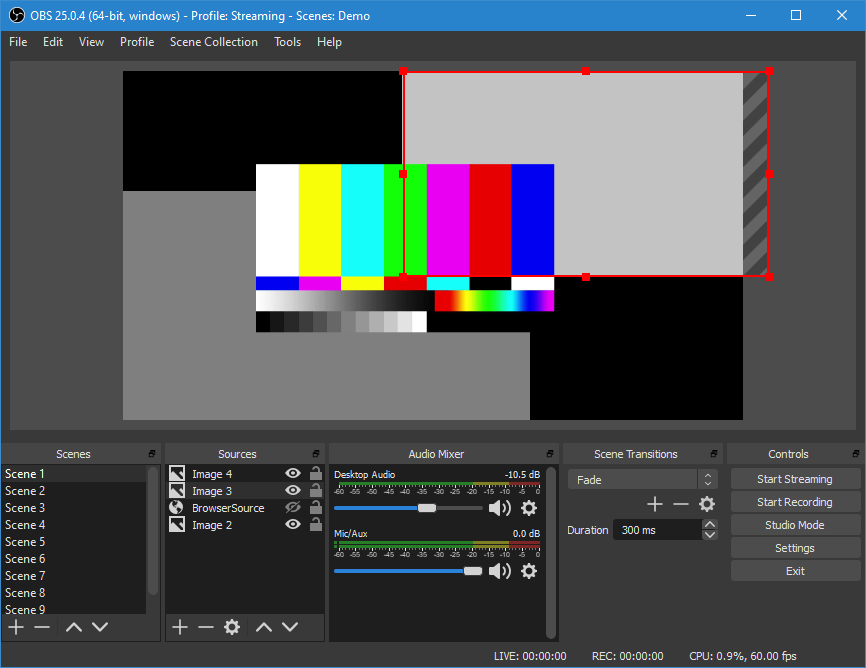
PROS
- Full customization of the stream, visuals, and audio.
- Chroma key available for those looking to use a green screen.
- Doubles as a recording software for those who create video content.
- Community plugins that extend the functionality of the software.
CONS
- Larger learning curve
- More customization means that more can get messed up while tweaking settings.
- Can be intensive on CPU with certain settings.
Streamlabs OBS (SLOBS)
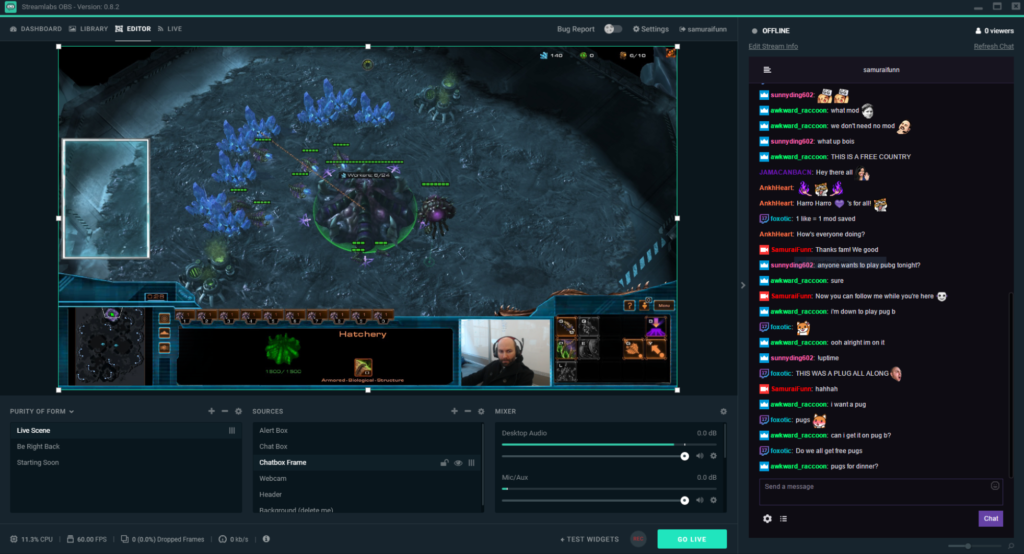
PROS
- Functions similarly to OBS
- Integrates their tools into the software without having to use browser sources
- Streamlabs App Marketplace is great for quality tools and professional overlays
- Chroma key functionality built in
- Very easy on CPU usage
CONS
- Marketplace is not always free
- No community plugins for additional features
XSplit
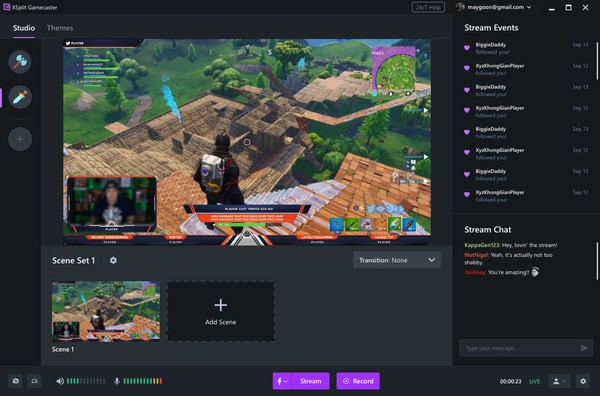
PROS
- Membership fee gives you access to tools like XSplit VCam
- Built-In Editor like SLOBS
CONS
- Lifetime Membership costs $200 or you pay a monthly fee depending on the features you want.
- Built-In Editor is buggy and takes some tweaking to get correct.
Lighting
After selecting what streaming software you want to use, next is to start working at how you will look. Lighting is needed not only for individuals using a green screen, but for a better web presence overall. Light helps to distinguish you from your background and highlighting yourself. If you are using a green screen, its almost critical that you invest into some form of lighting kit. Not only will it make you look better on camera, but dispersing light over a green screen correctly can provide a nice and even surface for chroma keying. No longer will you have to deal with ugly green specs and parts of the green screen showing through.
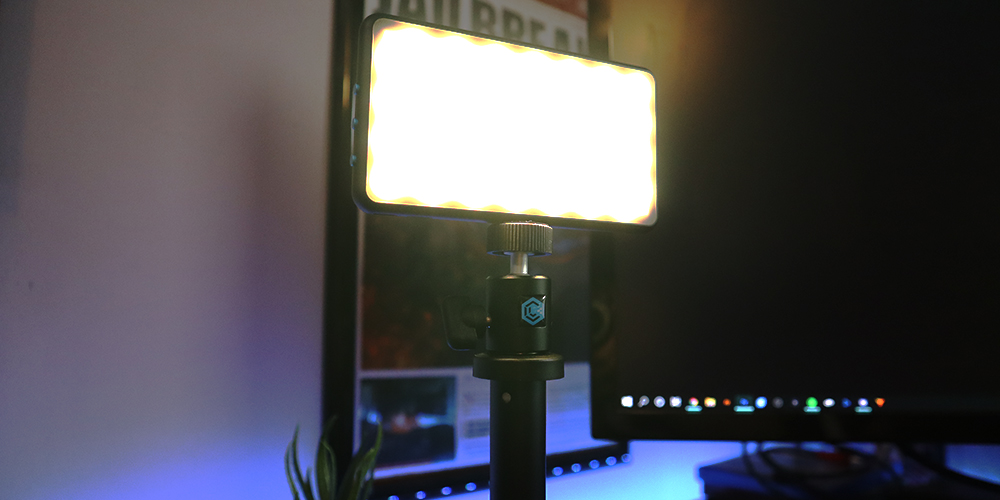
Our goal was to dive deep into some awesome lighting solutions that you can use in your streams. We recommend checking out the article as it goes into detail on what lights work best with the green screen and also for your budget. However, as long as you have some dedicated light source that are positioned correctly, you are already a step ahead of the creator who didn’t use lights.
Green Screens
Now that you’ve got your lighting and software all picked out, you need to decide if you are going to use a green screen. There are a lot of benefits to using a green screen in your livestream setup. For one, the focus is taken off of your background and placed on yourself. The viewers attention is pulled to your gameplay and you as you interact with them. Secondly, if you are a fan of engaging segments and funny gags, there is a lot you can do with a green screen. You can add funny backgrounds or scare individuals with chroma key’d assets.
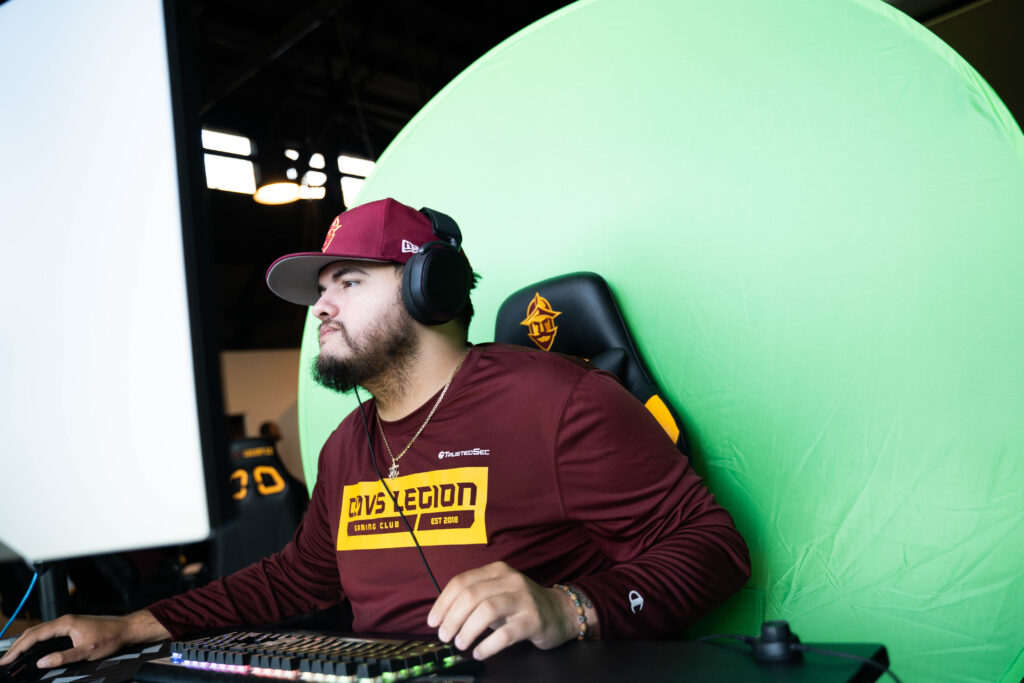
You’ll want to familiarize yourself with chroma keying and how to do it correctly. Chroma key allows for the background to be removed. Unfortunately, chroma keying is not standard across the board, meaning the settings you have will differ from someone else entirely. It all depends on your environment. For example, programs like OBS are great because they have a lot of settings within the chroma key filter to tweak and get perfect for your setting. Therefore, this process can take some time, so take it nice and slow.
We explored chroma keying in our chroma key settings guide and picking the right camera size in our green screen setup article. We recommend really taking a deep dive into the suggestions and items to consider to ensure you get the best coverage available!
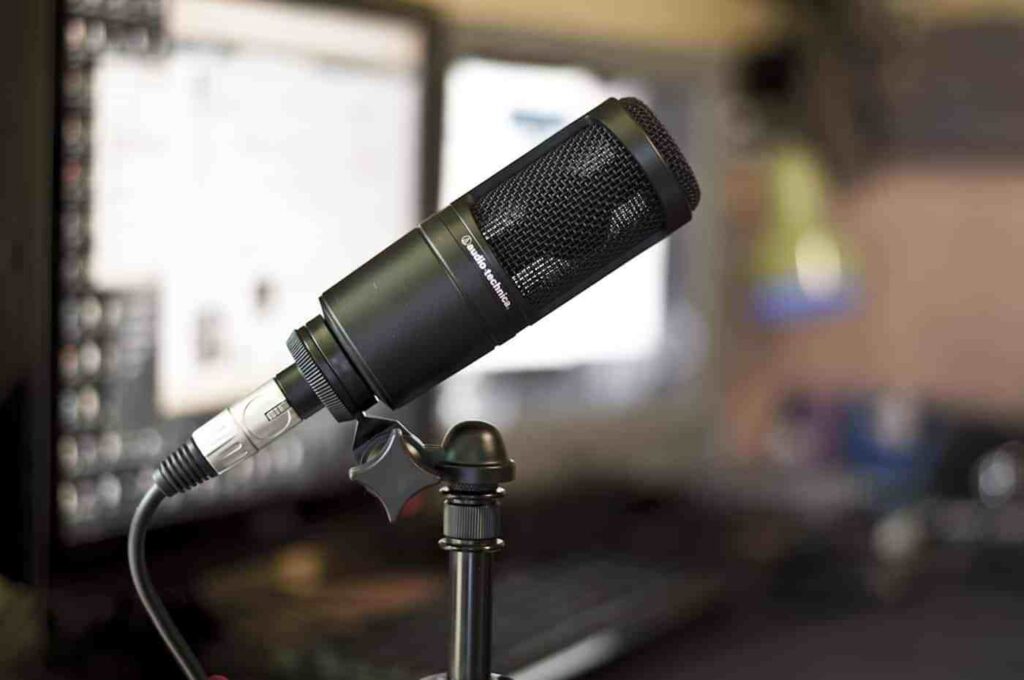
Audio Setup
We’ve tackled the streaming software, your lighting, if you are using a green screen and how to set it up. What next? Well the final piece to any stream presentation is your audio. Not many people want to hear a muffled or distorted microphone. Even getting the gameplay audio is a big step because you don’t want that to overshadow your voice and reactions.
We recommend first picking a good external microphone. You have two choices here: USB or XLR setups. USB setups are plug-and-play. They go directly into a USB port and usually are recognized by the computer almost immediately. USB setups are typically cheaper and provide a good starting point for any new creator. We recommend Blue Microphones for this because of their affordability and feature set. Unfortunately, USB microphones tend to lack adjustment outside of volume and gain. If you want more control over the sound, you may want to look at an XLR setup. While much more expensive overall, due to the need for a mixer/phantom power, XLR setups provide a ton of customization options to make you sound amazing. You’ll find that tweaking the settings on your mixer will allow for a much clearer sound. The possibilities are endless.
Now that you have selected your external mic, you’ll want to add it to your streaming software. Generally, audio settings are like chroma key, where your setup and environment dictate the way you filter or adjust the audio. However, we found that running at 44.1 kHz is almost perfect for most creators. Once you’ve set the device up within your streaming software, its time to adjust and test your audio levels.
Testing audio is a lot simpler than you think. First, start up the game, music, and any other audio sources. Next, record yourself talking with all of the audio sources active. Listen to the recording and turn up or down any sources that need adjustment. Lastly, repeat the process until you are happy with the audio levels! For a detailed look into audio settings and working them into your streaming software, we wrote an streaming audio guide for you to take a look at!
If you follow the items we listed above, you’ll be well on your way to a great looking stream! Our goal was to spell out exactly what we found to be big pieces of the puzzle, explain why and how to optimize each piece, and let you decide what you need from there. In short, not only will you be able to have a professional looking stream, but you will be miles ahead from other creators. You will have ensured you look AND sound good, providing a welcoming visual and audio experience for new viewers! If you have other tips and tricks that you think should be included in this guide, let us know in the comments below!
Keep on creating and GLHF!


7 Comments
Hey! This is my first comment here so I just wanted to give a
quick shout out and tell you I genuinely enjoy reading through
your articles. Can you suggest any other blogs/websites/forums that go over the same topics?
Thank you!
There are many places to look for additional content like this. Many of the hardware and software manufacturers like StreamLabs and StreamElements have content like this as well.
Howdy just wanted to give you a quick heads up. The words in your post seem to be running off the screen in Ie.
I’m not sure if this is a formatting issue or something to do with
web browser compatibility but I thought I’d post to let you know.
The style and design look great though! Hope you get the problem fixed
soon. Thanks dildok3 (https://xvj3gsdfghhfies.link)
Thanks for the heads up! Do you mind sending a screenshot of the issue to info@thewebaround.com? Thanks!
Thank you! Starting within your means is the best way to go about it. You can always import your older articles on a free website to a paid website!
Hi there! I simply wish to offer you a big thumbs up for your great
info you’ve got right here on this post. I will be returning to your web site for more
soon.
Thank you so much! Glad you found it helpful!