Have you used Zoom in the last few weeks? If you have, you’re not alone. According to Zoom figures released in October 2020, the platform has over 300 million meeting participants, daily. That’s a lot of people using Zoom per day. Zoom has become so commonplace, you may think you know how to use every feature Zoom has to offer. However, Zoom continues to release new features, keeping us all on our toes. Its most recently released feature, Zoom Studio Effects is useful and incredibly fun to play around with!
Today, we will be going over how to use Zoom Studio Effects. This tutorial will help you showcase your creative side during your next video conference call!
Step 1: Make Sure You Have the Most Up-to-Date Version of Zoom
Zoom Studio Effects is a newer feature. You need to use the latest version of the Zoom client to take advantage of everything it has to offer.
Click here to get the latest version of the Zoom client.
Step 2: Locate the Zoom Taskbar
The process for using Zoom Studio Effects is quite similar to that for a Zoom virtual background. Just like the virtual background feature, to use Zoom Studio Effects, you’ll use the Zoom taskbar to change the settings.
The Zoom taskbar is the fastest way to access the settings menu while on Zoom video calls. As such, to locate the Zoom taskbar, you must already be in a meeting room. After entering your conference call the taskbar should be at the bottom of the Zoom app window. If you don’t see the taskbar, it may be hidden. Don’t worry, just hover your mouse on the bottom of your screen, it’ll show up. The taskbar is the control center of your call. From here, we’ll be able to access all the settings we need to enable Zoom Video Effects.

We’re going to focus specifically on the Video settings found on the leftmost side of the taskbar.
Step 3: Turn on Your Video
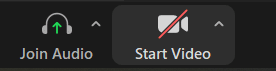
Click the “Start Video Button” (left) to turn on your camera. Alternatively, you can press Alt + V on your keyboard. This will turn on your camera. Once you click that button, anyone in the meeting will be able to see you.
If you are unable to turn on your video, you may not have a webcam connected. While most modern laptops come with webcams, many desktops and older models don’t. If you need a webcam, Webaround has you covered. Once your video is turned on, the fun starts. In the same area as you started your video you will see an upward-facing arrow. Clicking on the arrow will open Zoom’s video settings.
Step 4: Navigate Zoom’s Video Settings
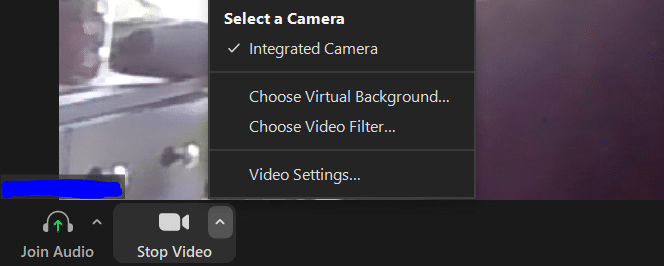
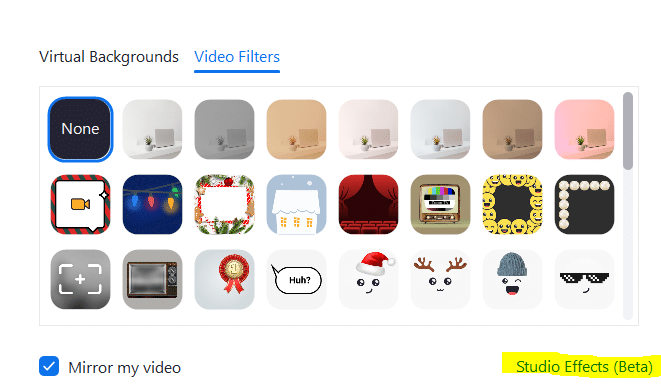
Zoom gives you a couple of different video options to select from. Today we will select “Choose Video Filter” After selecting “Choose Video Filter” a new window will pop up with a variety of different options for filters. Here is where it starts to get fun. I highly recommend playing around with the variety of video filters Zoom has available. However, in this tutorial, we are going to focus specifically on Zoom Video Effects. In the new pop-up window, on the lower-left corner, you will see “Studio Effects (beta)”. See the image below to help you located the Studio Effects link.
Step 5: Add Zoom Studio Effects to Your Video
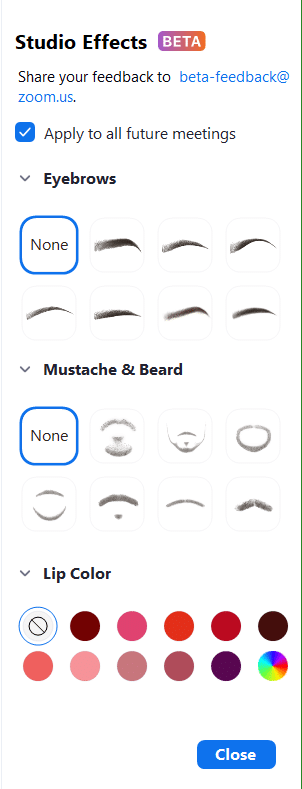
Once you click into Studio Effects (Beta), you should see options similar to those shown here on the left.
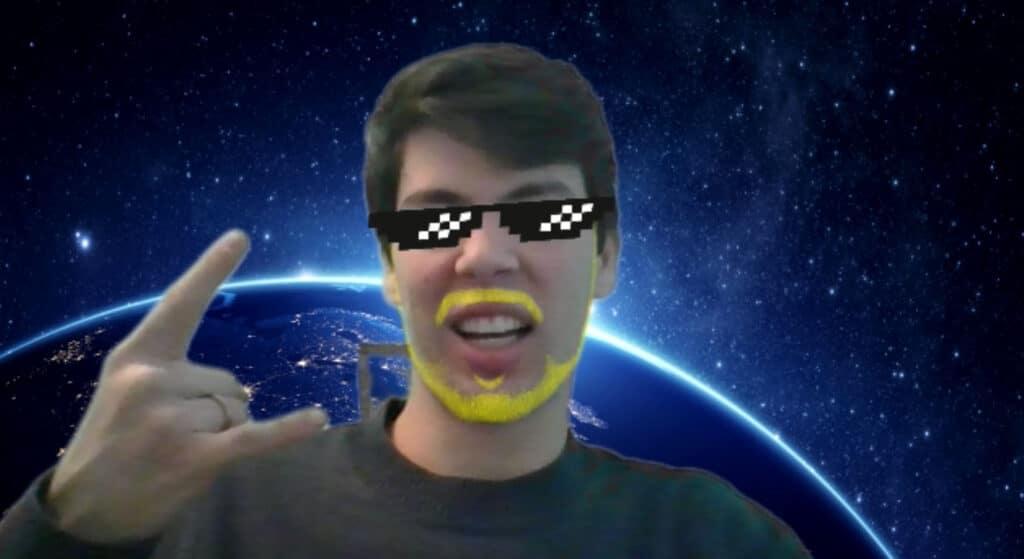
As you can see, Zoom Studio Effects allows you to add effects on top of your current video stream to elevate your video conference presence. You have the ability to alter your eyebrow shape, add facial hair, and even change your lip color. If done correctly, Studio Effects can help polish your professional look. For professional environments, I recommend choosing colors that complement your existing skin and hair tone.
But, if you’re using Studio Effects for a creative project or when talking to friends, you can alter the color filters to really spice up your video stream.
To change the color or opacity of a specific effect, select the option you want and a color selector and opacity selector will automatically appear below your selection.
That’s How to Use Zoom Studio Effects
Following those steps, you should have everything you need to set up Zoom Studio Effects. If you’re interested in setting up Zoom Studio Effects prior to joining a meeting, skip steps 2 and 3. Instead, head to your settings menu on your Zoom client, navigate to “Background & Filters”, and follow steps 4 and 5.