Virtual backgrounds have revolutionized the way we conduct business outside the office. This new technology has opened up endless possibilities. It allows us to place ourselves in front of any background, in almost any situation. While many users of virtual backgrounds use beautiful photos or scenic backdrops, the realm of opportunity opens up when users develop and deploy their own custom virtual backgrounds.
Today, we will go over how to make customized backgrounds using Canva, a powerful graphic design tool. The images developed in Canva can be used across a variety of different virtual conference platforms. They are a great way to stand out on your next call. Follow these simple steps and create a virtual background that will impress even professional designers!
Getting Started with Canva
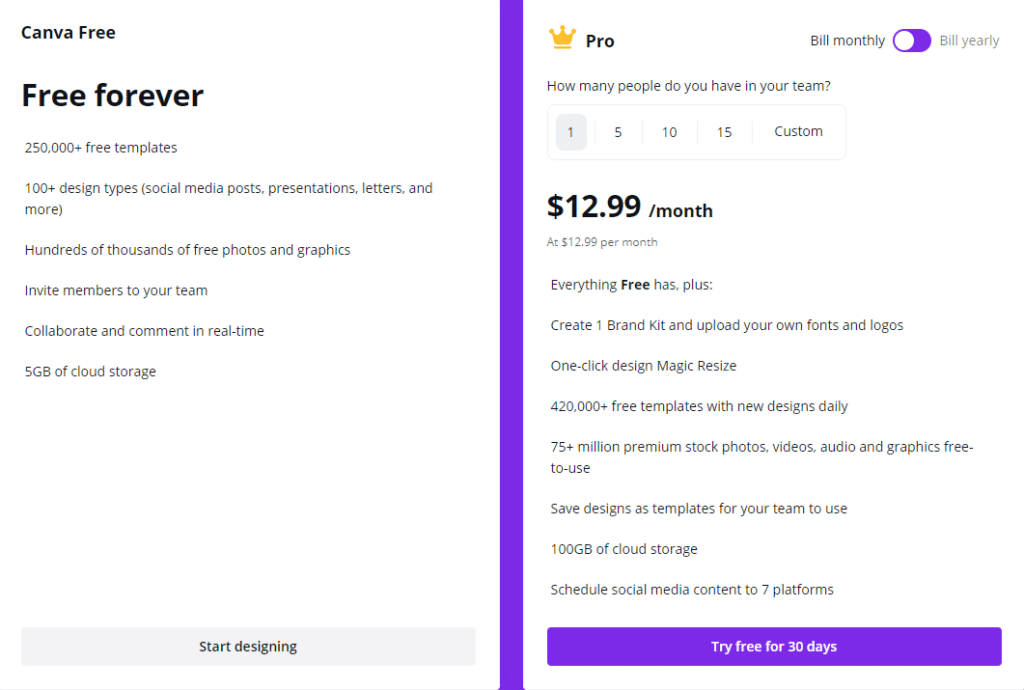
The first step to creating a custom virtual background on Canva is to sign up and familiarize yourself with the tool. To do so, you’ll need to first create an account with Canva. One of the things I love about Canva is that you have the option of selecting a free or premium account. The image below shows the different features available for the Canva Free and Canva Pro accounts, as well as pricing.
Once you’ve decided which option is best for you, signing up is easy! This is especially true if you want to link your Google or Facebook account directly. Follow the instructions on your screen and you’ll be all set up with a Canva account within minutes.
Selecting the Right Template
The most important thing when creating a customized virtual background is to make your image the right dimension! According to Zoom, the best size for a virtual background is 1920x1280p. If you’re unable to create an image that size, just remember to stick with a 16:9 aspect ratio (this will ensure your picture doesn’t look stretched or compressed).
If this is your first time using Canva, a really useful tool will pop up to help you with your first design. I recommend typing in “Virtual Background” in the search bar, see below, to select the “Zoom Virtual Background” template.
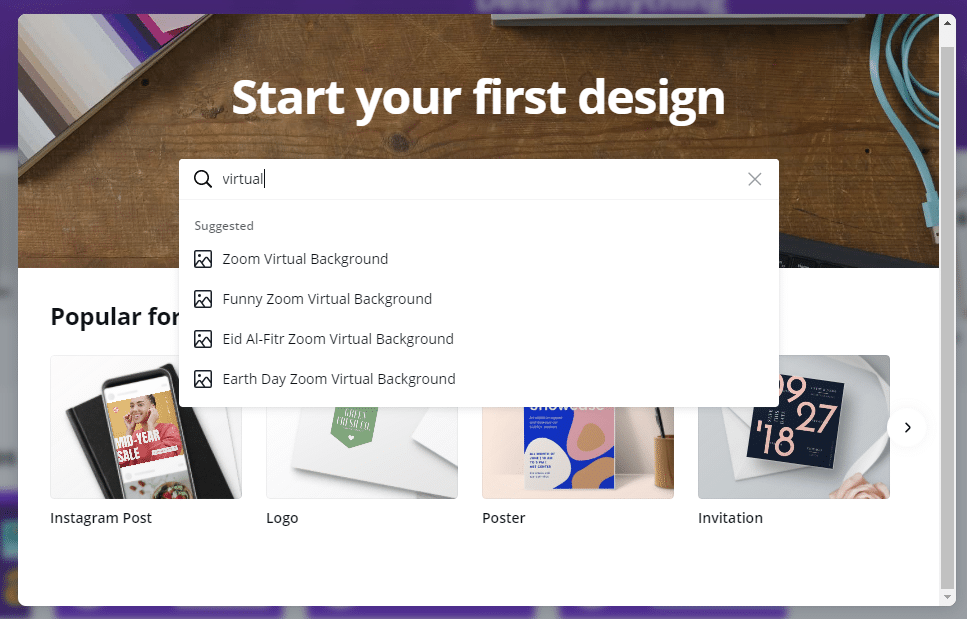
If you’ve previously used Canva, the start your first design option will not show up. But, that is not a problem. Simply direct yourself to the top search bar and type in “virtual background”. The same options will pop up as above. Select the Zoom Virtual Background template to get started with your custom design. After you’ve made your selection, you should have a blank template sized perfectly to fit your video conference background.
Design your Virtual Background
The design options for your virtual background on Canva are limitless. The trick to making a beautiful Canva virtual background is to play around with the different options found in the main Canva taskbar. By familiarizing yourself with the different options, you’ll be able to customize your background a million different ways!
Using the Canva Taskbar

The first taskbar option is “Templates“. This area is wonderful if you are looking for a quick, already made design. I suggest selecting a template and working off an already existing design. Unless you have something very specific in mind, then feel free to start from scratch.
The “Uploads” section is the place you will go if you have external images or icons that you’d like to incorporate into your virtual background. By clicking the uploads area, you’ll be able to scan your PC for files that you’d like to import and use within Canva. This is great if you have a company logo that you need to add to the virtual background.
Another feature that Canva users have access to is Canva’s image repository. By going to the “Photos” area, you’ll be able to view and use a multitude of different high-quality images for your design. Whether you use it as a background image, or as an additional design element, the photo area helps streamline the design process. No more searching for hours for the perfect royalty-free photo, Canva has you covered.
“Elements” are the modern version of clip-art. This area is full of useful images, icons, and illustrations that can be used to elevate your design.
The “Text” area is where you’ll click to add text. Choose from a straightforward text box all the way to premade stylized layouts for your text.
The “Audio“, “Video“, and “Bkground” options are all great ways to add additional resources to your design. For a virtual background, I recommend staying away from additional audio or video. However, these areas are useful if you are using Canva for other design projects.
Exporting and Using your New Design
Once your design is complete, click the “download” button on the page and select where you’d like your image saved. From there, go to your video conference platform and upload the photo! Need help uploading your photo? Our virtual background tutorial will help!
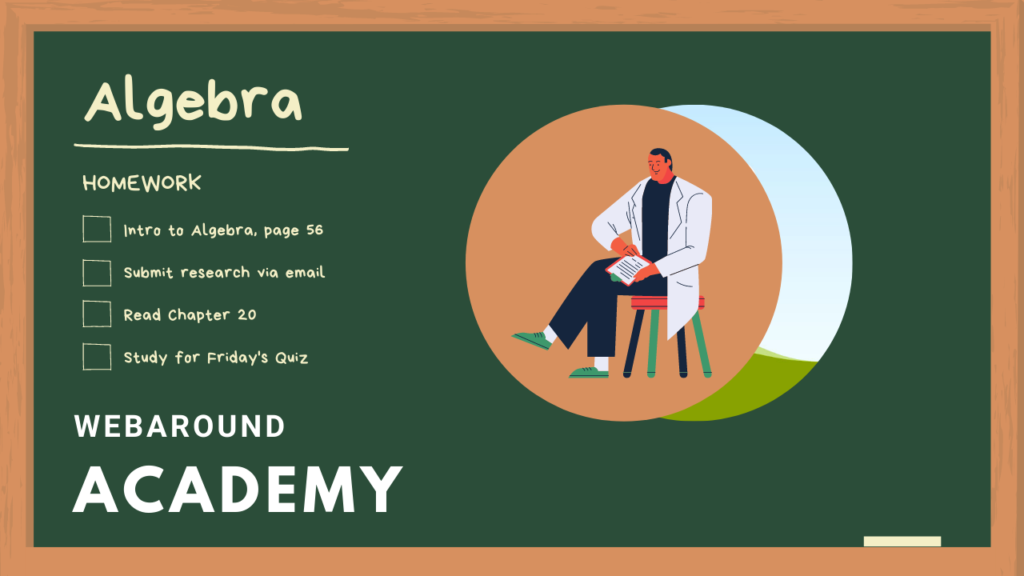
Here’s a photo of an education-focused custom virtual background design we created on Canva!
Do you have a favorite way to create virtual backgrounds? Let us know about it in the comments.