With game resources taxing even the highest end PCs, preserving resources is a must for creators. You have to account for the CPU/RAM usage of the game, your stream accessories, and of course the streaming program that you are using. If you want to save on CPU resources and have a great looking stream, look no further than StreamElements. We went over the basics of setting up StreamElements, but didn’t go into detail on the features and how it integrates with OBS. Today, we are going over all of that and how you can integrate StreamElements with OBS quickly to save on CPU resources and allow you to stream at an even higher quality overall.
Why Use StreamElements?
StreamElements is unique because it handles alerts, overlays, images, video, widgets, and more all through the cloud. Rather than hosting all of these assets on your personal computer, where the CPU usage could spike to 40-50%, running through the cloud reduces this significantly. By using StreamElements, you can run all of your assets with around a 3% CPU usage, which allows you to allocate more CPU resources to the game you are playing.
Getting Started with StreamElements
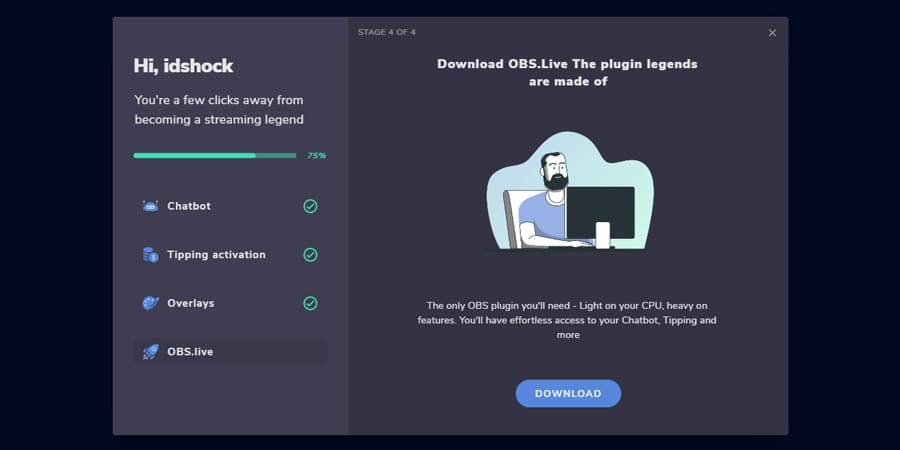
To get started with StreamElements, you want to go to their website and login with the account you’ll be streaming from. From there, you will be directed to the dashboard. This is where you’ll be able set up your tips, merch, overlays, activity feed, and general stats from previous streams. The first thing we want to do is run the setup wizard. This tool goes through how to add the chatbot to your stream, set up your tips/donations, get your overlays going, and also providing the option of downloading OBS.live.
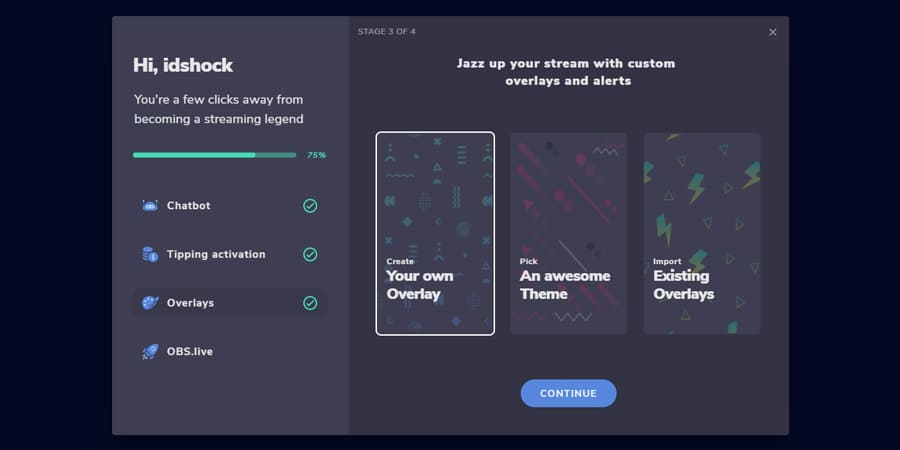
When you get to the Overlays section, you can create your own, browse premade templates, or import the overlays from other services like Streamlabs OBS. For today, we are assuming that you have the assets available and we will create the overlay from scratch so we will select “Create Your Own Overlay”. You’ll be taken to the Overlay Editor.
Select the resolution that you’ll be running the stream at. For most, you’ll want to choose 1080p.
Once you’ve selected the resolution, we can begin creating your overlay in StreamElements. Let’s start by selecting Add Widget. This opens up the widget area where you can select things like Alerts, Static Images, Labels, Goals, and more. This is where the majority of your overlay creation is going to happen. When you select one of the widgets, the left sidebar becomes the settings area for that widget. For example, if we add an alert box, the left sidebar now shows different alerts for different events.
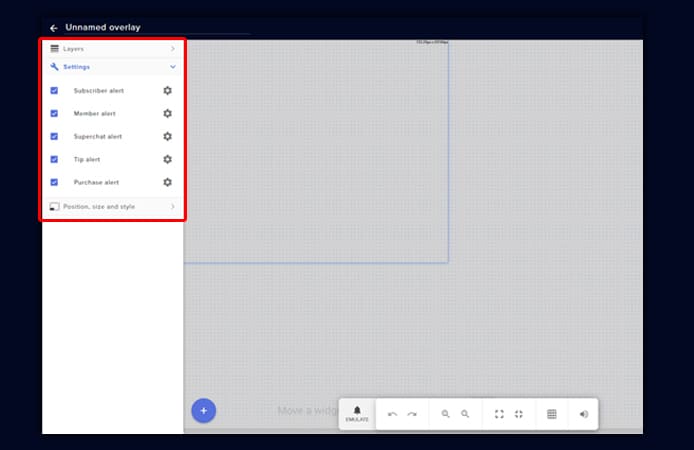
If you click the cog icon, you can now add your own video or image, change the volume of the alert, how it’s placed, apply custom CSS, and resize it to how you want. You can also adjust how the animation will bring the alert in and out. There are a lot of settings for each widget, so we recommend going through each setting and applying what you need to make it look great.
Resizing your overlay assets can be tricky though. Sometimes, stream overlays are made in Photoshop at the stream resolution (i.e. the small graphic was made on a 1920x1080p canvas). Therefore, the asset may look small when you first apply the widget to the overlay. Make sure you go to the Position, Size, and Style section to change the width and height to the correct dimensions. This will display the overlay asset properly and allow you to place it exactly where it needs to go.
PRO TIP: If you are moving your overlay to StreamElements, take a fullscreen screenshot of your overlay in OBS, add an Image Widget in StreamElements, set the width and height to your resolution and drag the widget to the bottom of list of widgets. This will give you a background to line up your StreamElements overlay widgets onto so its an exact rendition of your current overlay that you are using.
Once you have created the overlay in StreamElements, make sure to click the save button at the top right and rename it to whatever you want at the top left. If you have multiple scenes, this will make it easy to identify which one you are editing.
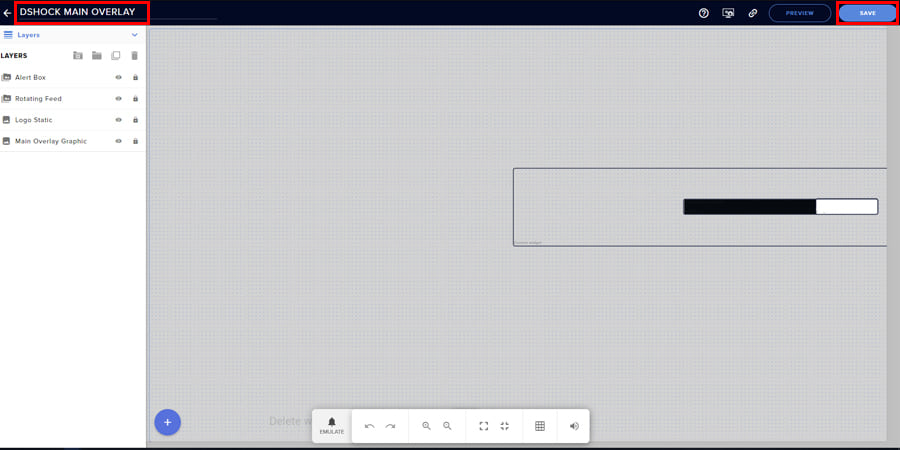
The coolest part of StreamElements, besides saving a ton of CPU power, is that your overlay is stored with a simple browser link. Navigate to the link icon at the top right and click. This will copy the link and allow you to place it in OBS. This link is unique to you and won’t change. It makes it very nice if you are changing setups, have to reinstall OBS, or you are streaming from another location. Just grab the link from the Overlay Editor and you have your entire stream ready to go!
How to Use StreamElements with OBS
Adding your StreamElements Overlay Link to OBS is a breeze.
- Open OBS
- In the Scenes Box, click on the Scene that you want to edit
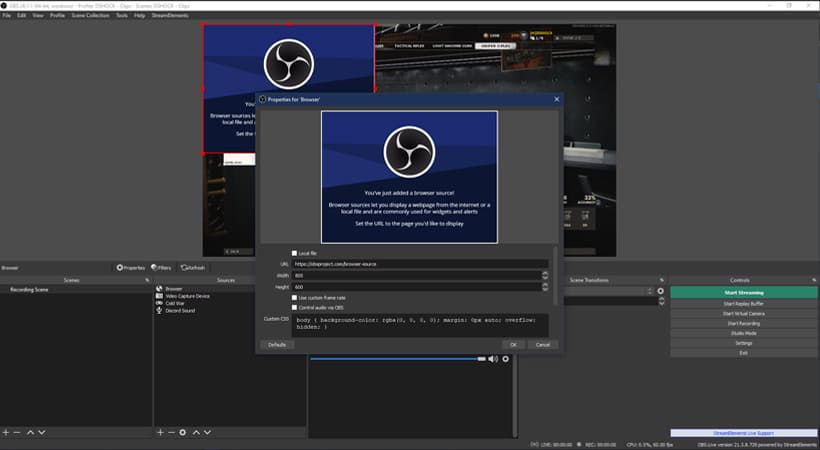
- Navigate to the Sources box, right click and add a Browser Source.
- Paste the StreamElements Overlay Link in the URL section
- Resize the width and height to your stream resolution you picked earlier
- Delete the code in the custom CSS section. You won’t need that unless you are styling the browser link yourself.
- Click Ok
It’s that easy! In just a couple seconds, you have now added your overlay to OBS and all of the assets are now being hosted on StreamElements! Congratulations!
What is OBS.live?
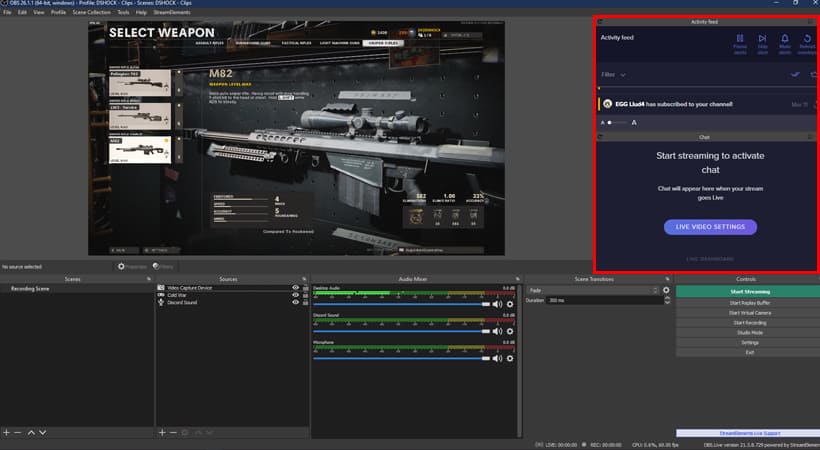
OBS.live is a plugin for OBS that was created with StreamElements. It adds docks and additional features directly in OBS for you like a chat window and an activity feed. This allows you to reduce the number of browser windows you have open. Usually, a streamer has their dashboard open, an activity feed if someone tips or follows, and a chat window to interact with the viewers. OBS.live allows you to merge all of those right into OBS and all the while have a clear view of the stream.
This plugin is light on the CPU, but does take a little more power away. We recommend installing this if you feel that the amount of windows open could be condensed using this plugin. Otherwise, run it how you see it best. As always, your mileage may vary.
As we mentioned, StreamElements is one of the most powerful streaming programs you can use, especially if you are using a single pc setup to stream. You save on a huge amount of CPU resources and have instant access to all of your stream assets in case something happens to your computer. You’ll never have to worry about something being deleted or not available ever again! Adding the StreameElements Overlay Link to OBS is super quick as well.
While we went over the basics of StreamElements, there is a ton of extra features that you can do like custom widgets with CSS/HTML/Java. The possibilities for fully customized overlays with coding are totally possible in StreamElements. If you have other features that you think we should include, make sure to leave a comment down below. We might even add it to the list!
Good luck with StreamElements and as always, keep on creating and GLHF!


4 Comments
I love using stream elements.
But i cound never get the alerts to work.
Hey Daniel! Thanks for that insight. What is the main issue with the alerts not working? Is it setting them up? We can make a guide if that would help!
I’m just wondering if these instructions could be more vague? Have you tried following them yourselves? You’ll see that you’re missing instructions here. I was not able to figure it out and gave up.
The problem is the sources and scene windows are separate. Your instructions say to select the scene, then add the source. But you forgot to mention HOW to do this. You can’t add a browser in the SCENES window. You have to do it in the SOURCES. So that being said, how do you tie the two together? If you add a source in the ‘SOURCES’ window, you have the choice to 1. Create new or 2. Add existing.
Maybe you should try this again…its not so easy as you say when you incorrectly write bad instructions.
Surprised no one else has left a comment about this. My guess is they went online somewhere else or figured it out themselves. Also, check your images…you need a magnifying glass to see anything.
Thanks for the comment. Yes, we used these exact steps to create the article and had no issues going from start to finish.
I am sorry that you are having an issue with the instructions. We went ahead and adjusted the wording to be a little more clear on adding a browser source. The previous instructions did clarify that you needed to add the browser in the sources, but we reworded it to be more clear for you and anyone else reading. If you follow the instructions as they are now, there should be no problems keeping along with them to add your overlay link.
The photos are adjusted via our website code, so I would be happy to discuss the sizing and adjustments with our web admin.