Connecting with your audience and building a true community with your fans is the main goal for the majority of gaming streamers out there. We know that one of the first steps in growing that fanbase from you and your two best friends to a wide world audience is to create a professional look and feel on your stream. Sure, getting yourself a nice microphone and camera are both super important when getting started, but if you’re looking to take your stream up a notch you need to think bigger.
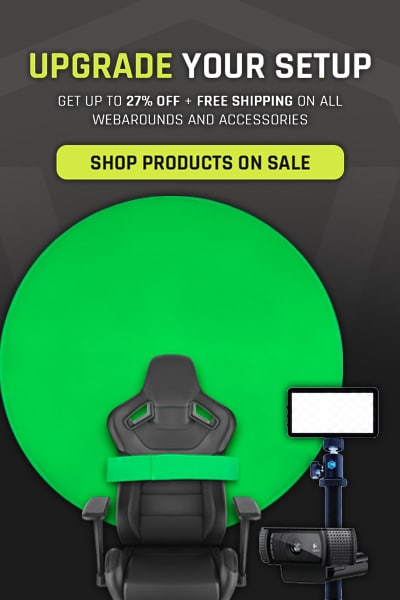
Investing in a green screen is certainly going to turn a few heads when you’re streaming, as well as opening up the doors on creativity. A green screen gives you the freedom to take your stream in all sorts of interesting directions that you never thought were possible. But where do you start, and how do you get your green screen working on stream?
Why your stream needs a green screen
If you’re looking for something to spice up your stream or add a new level of creativity, the world of possibilities that a green screen creates is endless. For many streamers, you may want to put the focus on you and keep your audience from looking at the background where you’re streaming from. This is great for really engaging with your audience and making it a more immersive experience where they can focus on you and your gameplay.
Secondly, think about the number of interesting backdrops you can create or implement with your green screen set up. Adding in virtual backgrounds or funny segments on your green screen can lead to a level of production quality that is often missing from many gaming streams. This is also the perfect way to really cement your brand into your audience and display your personality loud and proud.
For example, if you like playing horror games on stream, you might want to add some scary elements to your green screen or just remove your background completely so your audience can see more of the gameplay. If you’re looking at becoming the next Dr. Disrespect, you’ll definitely want to get a green screen for your stream.

How does a green screen work for streaming?
The process of using a green screen is often referred to as chroma keying, where a specific color (usually green or blue) is removed from the video and replaced with another element. In other words, this is how those streamers you watch remove their background and end up with a floating body in front of their gameplay setup.
Unfortunately, this doesn’t just happen magically on its own when you set your green screen up. Jumping into the editing software is where you can remove and replace parts of your footage. However, when you’re living streaming you want this to be happening in real time as you’re playing.
One thing to remember is that in order to get your green screen working, you’ll need to cut out all of a specific color from your frame, meaning that if you’re sat there in a green shirt that’ll be cut out too!

What software do I use to stream with a green screen?
The great thing about using a green screen is that most streaming software programs have special presets for them, making the setup process relatively easy. The important thing to note is that everyone’s room environment and lighting setups are different, so the chroma key settings in these software programs will need to be tweaked accordingly.
Whatever you choose to steam with, make sure that the program has chroma key filters available within them. For example, the Lightstream program is an interesting cloud-based live streaming software, but it doesn’t have the capacity for chroma key.
The two main streaming software that streamers today use are Open Broadcaster Software (OBS) and XSplit Gamecaster.
How to use a green screen on OBS
OBS is a free software used by thousands of streamers around the world to get the look and feel of their streams perfect. If you’re wanting the full rundown on OBS, check out our full article on how to use Open Broadcaster Software. For now, we’ll be taking you through the steps on how to use a green screen on OBS.
- Set up your green screen on the chair or behind where you are sitting.
- Open up the OBS program on your computer and add a video source.
- Right-click on the video source and click on ‘Filter’.
- From here you can click the ‘+’ symbol in the ‘Effects Filters’ tab.
- Select the ‘Chroma Key’ option from the list of effects.
- Give this effect layer a name such as “Stream Green Screen”
- Once you’ve selected a Chroma Key, the OBS program will automatically select some standard settings. You’ll be able to experiment with these sliders to find the sweet spot in these settings to match your lighting and room setup.
- Once you’re finished, you can click ‘close’ and you’re good to go!
If you want to add a background layer, you can go in and add a new layer, making sure that they’re below the chroma key layer in the list of layers. You can go nuts with your creativity here, adding interesting images that reflect your brand, or funny backdrops to set the scene for a skit.

How to use a green screen on XSplit Gamecaster
Another super simple option to get your green screen up and running to stream is by using XSplit Gamecaster. The Gamecaster program is a more casual and user-friendly version of XSplit’s Broadcaster program, giving you the option to stream and record with annotations and other features. Similar to OBS, XSplit Gamecaster is free and offers you an easy way to control your stream from one screen.
Here are the steps to use your green screen on XSplit Gamecaster:
- Set up your green screen on the chair or behind where you are streaming.
- Open the XSplit Gamecaster program.
- In the bottom left, make sure that your camera is selected as the video capture device, ready to be used.
- When you hover over your ‘Scene’ you should see a little pencil icon to click on.
- Clicking this pencil will open up the ‘Scene Editor’ allowing you to ‘Add Widget’.
- Simply select your ‘Camera Source’ on the Sources tab, and click ‘Add Widget’.
- From here you can click on ‘Camera Source’ in your ‘Scene Editor’ window, and this will open up a Camera Properties menu.
- You should be able to see a tab for ‘Chroma Key Settings’ allowing you to check the ‘Enable’ box to get the chroma key working.
- You can adjust your chroma key settings here, such as threshold and exposure, helping to match the chroma key to your lighting and room setup.
- Now save your settings and head back to the main screen to see them take effect.
- You’re all set up. Happy streaming!

Complementing Your Stream Overlays With Green Screens
Using a green screen can help to highlight your personality and the brand you’re hoping to create for your audience. Using stream overlays in combination with your new green screen setup is a way to take your stream to the next level. There’s nothing worse than spending the time to find the best custom Twitch overlays, only to have the overall experience tainted by a distracting background from where you’re streaming.
You’ll even be able to add backgrounds thanks to your chroma key, allowing you to truly complement your stream overlays template and fully immerse your audience into the stream. An eye-catching overlay setup can bring more viewers to your stream, with the green screen setup contributing to your overall production quality on stream.
A Few Last Tips For Using a Green Screen For Streaming
So now that you know how to set up your green screen on the best green screen software for streaming, we want to give you a few last tips to make sure your stream is a success.
- Live chroma keying can take a hefty toll on your CPU, so make sure that you’re running the program on a powerful enough computer to ensure your stream isn’t dropping frames.
- Always check on what you’re wearing when setting up your chroma key, as any reflective materials or specific colours will affect the performance of your green screen.
- Consider your lighting setup and how that affects how you look on camera and the success of your green screen. It might be time to invest in a broadcast lighting kit to make sure your backdrop lighting is spot on.
- Don’t forget that you can apply the chroma key within OBS to more than just your webcam. You can use that hilarious video you found online that has a green screen in the background, and you can apply the chroma key to that specific video to add the subject to your stream.
- Some webcams have an Auto White Balance feature enabled, which can change the colour of your green screen as it attempts to balance it out. We recommend that you disable this feature as it can create some issues when setting up your green screen on the streaming software.
Last but certainly not least, have fun with your stream! Using a green screen adds a world of possibilities to your stream, and it’s super simple to set up with a number of free streaming software programs. Keep experimenting to find what works for you, your stream and what your audience responds to.
There’s no set process or hidden secret for skyrocketing to success on any given streaming platform. Remember not to try and force anything that isn’t ‘you’, and keep providing consistent value to your audience. Happy Streaming!